ONE LAST THING…
Please follow the short guide below to ensure your mesh functions correctly:
1
If you take a look in your Custom Scenery folder, you should notice the brand new Bristol Definitive MESH pack has been added.
Once confirming this, please launch X-Plane 11
As soon as you reach the landing screen, you may close the program.
2
Navigate to your Custom Scenery folder once again
Find your scenery_packs.ini file and double click to open
Note: You can edit this config with any text editor
3
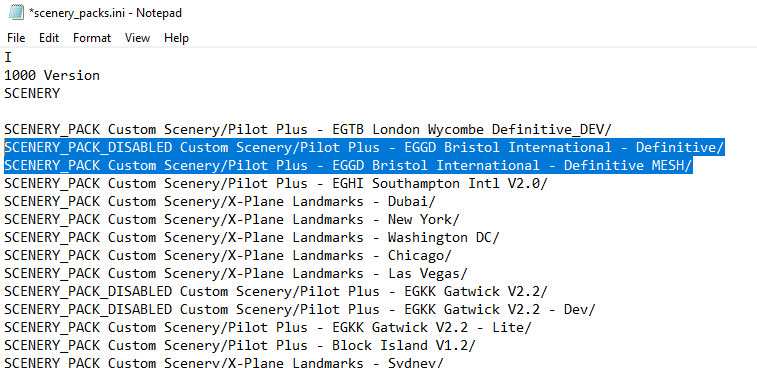
You should now see an entry at the top of your config file, for the Bristol mesh pack
Highlight the entire row, and cut the text (Edit, Cut)
Note: CTRL + X is the shortcut for cut
4
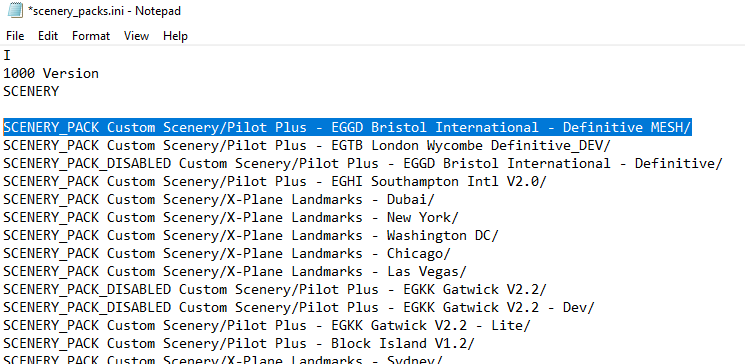
Enter a blank line below the Bristol Definitive scenery
Paste the text line from step 3,
Your file should then look the same as the image